DataScience310
1:
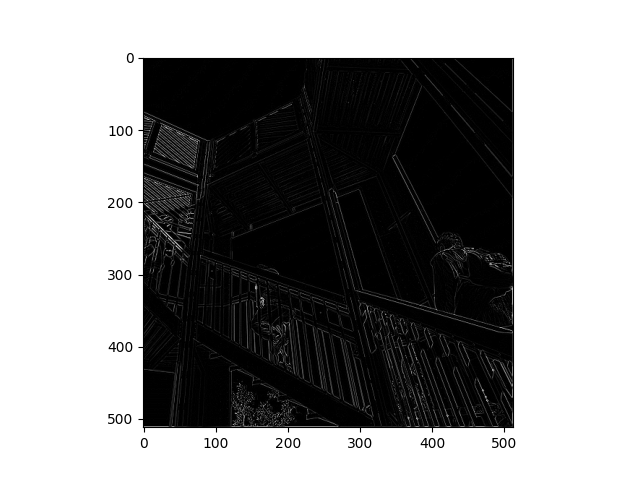
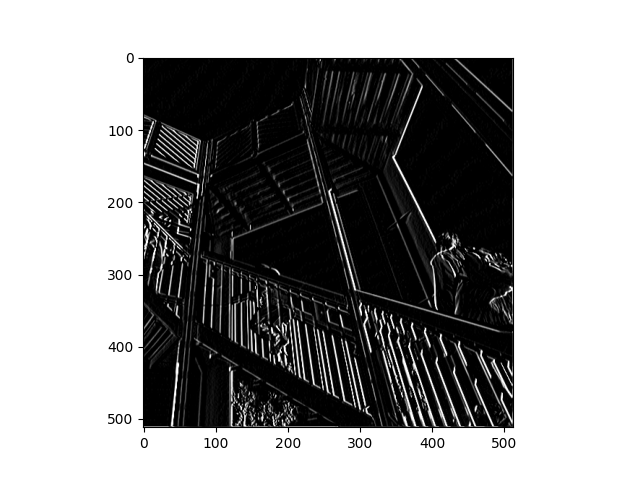
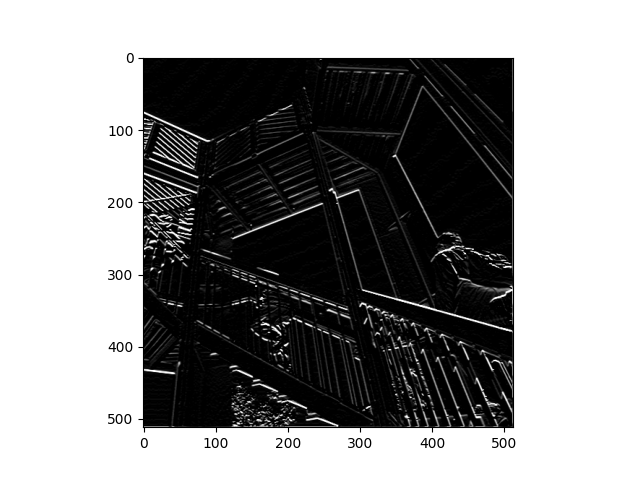
The first convolution looks at the pixels in the middle edges of the image and removes the importance of the center pixel. This results in a image which is much darker than the other two. The second convolution focuses in on the vertical lines. This convolution diregards the middle column and only focuses on the sides. The final convolution focuses on the horizontal lines. The matrix is all negatives on the top row, 0’s in the middle row, and all positives in the bottom row. Functionally, these filters are telling the computer which features of the matrix to focus on. It gives weight to certain pixels and creates an updated image with different features given light. Applying a convolution filter to an image is useful for computer vision because it gives the computer specific patterns to focus.
Stretch Goal
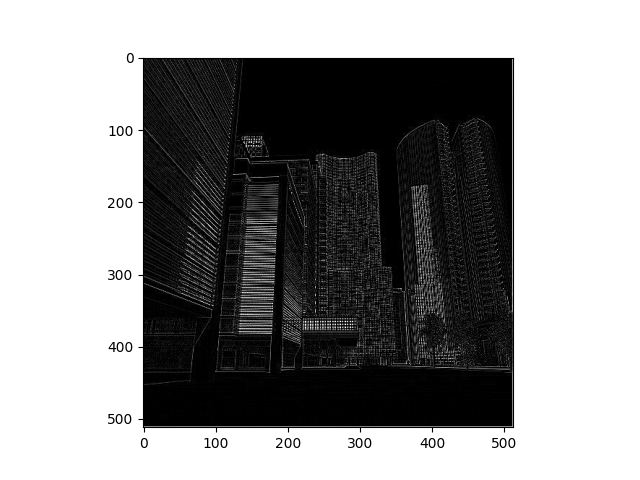
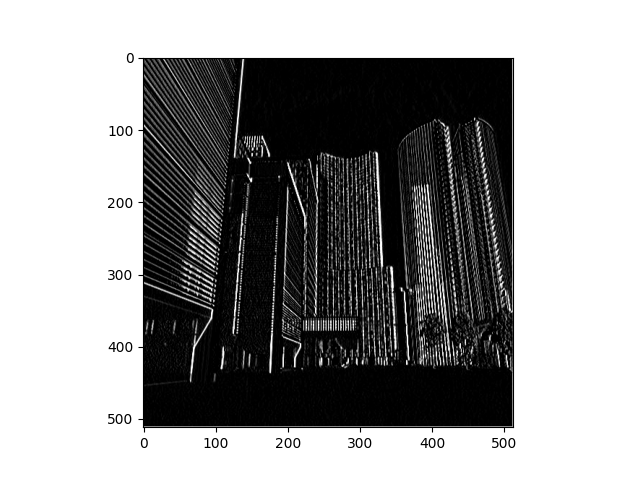
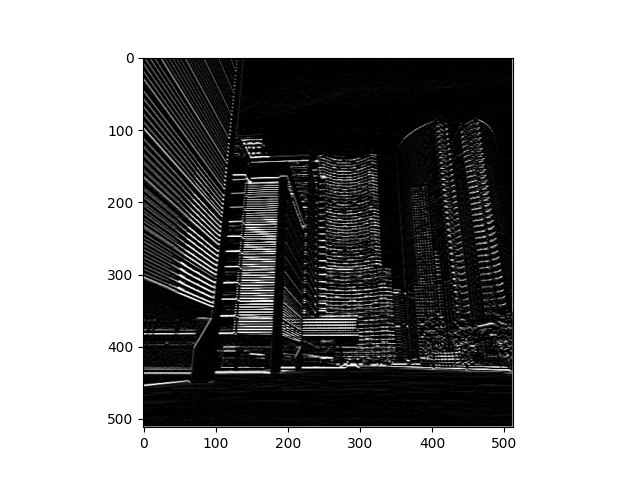
Much like with the previous image, this new image of a city has three different filters. The first filter again focuses on the middle edges with less concern on the center pixel. In this case the outlines of the buildings are still visible. The next filter again focuses on the the vertical lines. These become very impressive and defined in the skyscrappers. Finally, the last filter focuses on horizontal lines. The biggest difference between image 2 and 3 is in the second building from the left where the different floors can be seen.
2:
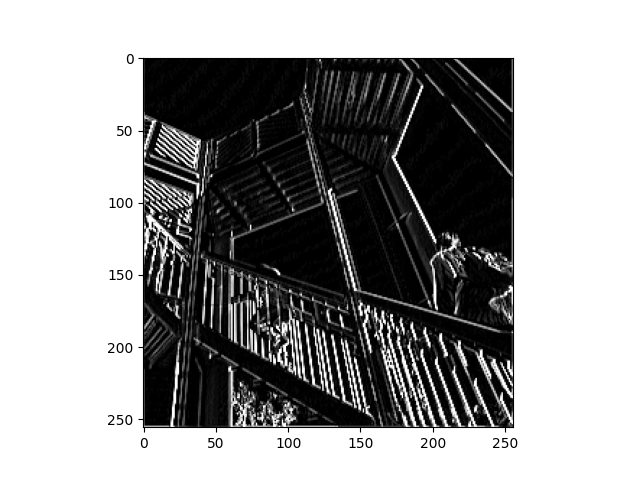
The effect of applying this filter is that the lines seem to be sharpened. This is because the logic behind it is maximizing the values. The pooling loop takes the largest value and applies it to the image matrix. The resulting image is now reduced in size, being half as big as the original image. This method may be useful to find the most important features of an image and make them stand out while not focusing on the less important features.
Stretch Goal
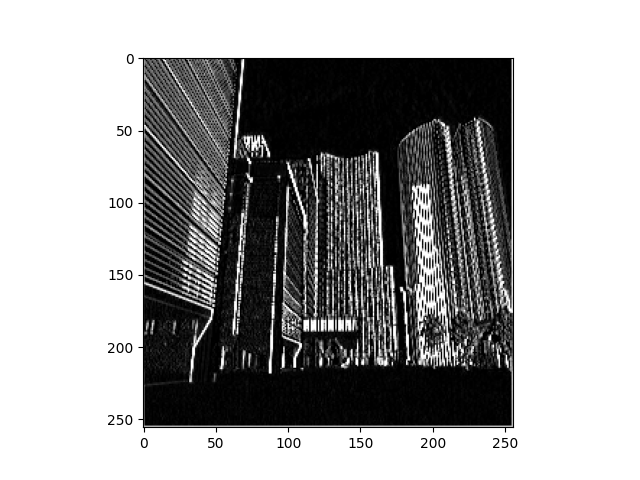
For the stretch goal the vertical line filter was again selected. This results in much thicker vertical lines going throughout the image. The pooling was again maximizing and does a good job at making the long vertical lines stand out and get thicker.
3: The following is the code used to created the matrices and the convolution of the 3x3 matrix over the 9x9 matrix. The result is another 9x9 matrix. Its values are also listed below.
import numpy as np
filter = [ [0, 0, 0], [1, 1, 1], [0, 0, 0]]
list_i = [ [0, 0, 0, 0, 1, 0, 0, 0, 0], [0, 0, 0, 0, 1, 0, 0, 0, 0],
      [0, 0, 0, 0, 1, 0, 0, 0, 0], [0, 0, 0, 0, 1, 0, 0, 0, 0],
      [1, 1, 1, 1, 1, 1, 1, 1, 1],
      [0, 0, 0, 0, 1, 0, 0, 0, 0], [0, 0, 0, 0, 1, 0, 0, 0, 0],
      [0, 0, 0, 0, 1, 0, 0, 0, 0], [0, 0, 0, 0, 1, 0, 0, 0, 0] ]

i = np.asarray(list_i)
i_transformed = np.copy(i)
size_x = i_transformed.shape[0]
size_y = i_transformed.shape[1]
print(type(i))
weight = 1
for x in range(1,size_x-1):
  for y in range(1,size_y-1):
      convolution = 0.0
      convolution = convolution + (i[x-1, y-1] * filter[0][0])
      convolution = convolution + (i[x, y-1] * filter[0][1])
      convolution = convolution + (i[x+1, y-1] * filter[0][2])
      convolution = convolution + (i[x-1, y] * filter[1][0])
      convolution = convolution + (i[x, y] * filter[1][1])
      convolution = convolution + (i[x+1, y] * filter[1][2])
      convolution = convolution + (i[x-1, y+1] * filter[2][0])
      convolution = convolution + (i[x, y+1] * filter[2][1])
      convolution = convolution + (i[x+1, y+1] * filter[2][2])
      convolution = convolution * weight
      if(convolution<0):
        convolution=0
      if(convolution>255):
        convolution=255
      i_transformed[x, y] = convolution

print(i_transformed)
[[0 0 0 0 1 0 0 0 0]
[0 0 0 0 3 0 0 0 0]
[0 0 0 0 3 0 0 0 0]
[0 1 1 1 3 1 1 1 0]
[1 1 1 1 3 1 1 1 1]
[0 1 1 1 3 1 1 1 0]
[0 0 0 0 3 0 0 0 0]
[0 0 0 0 3 0 0 0 0]
[0 0 0 0 1 0 0 0 0]]